Your partners will now have an added filter option on their dashboard that will group their assigned tasks and resources into the appropriate assets.

A few examples of leveraging assets:
Enabling the Assets Feature
In order to use Assets, the project Owner must first turn on this feature in the project settings. This option is only available to the Project Owner.
Navigate to Settings within the Host Settings navigation, then click the checkbox for Enable Assets. Once activated, click Save Project.
Creating Your First Asset
Once activated, the Host Settings list will now include an Assets section. Navigate to this area to begin creating assets.
Click Add an asset to create your first grouping.

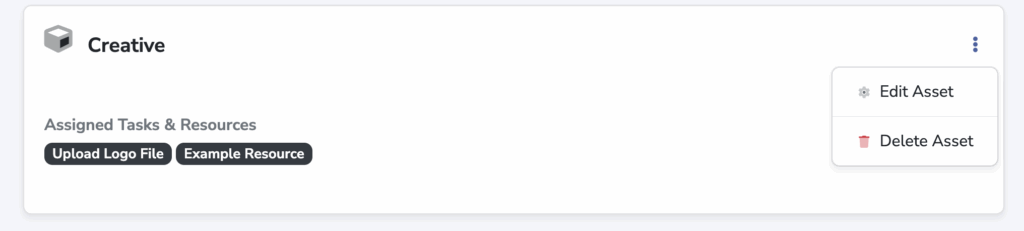
Once the asset has been created, click the three-dot icon, then Edit Asset to begin adding Tasks and Resources.
Partner View
Your partners will now have an added filter option on their dashboard that will group their assigned tasks and resources into the appropriate assets.